Your Resource for Winnipeg Cleaning Services: We Make Your Life Cleaner
Wiki Article
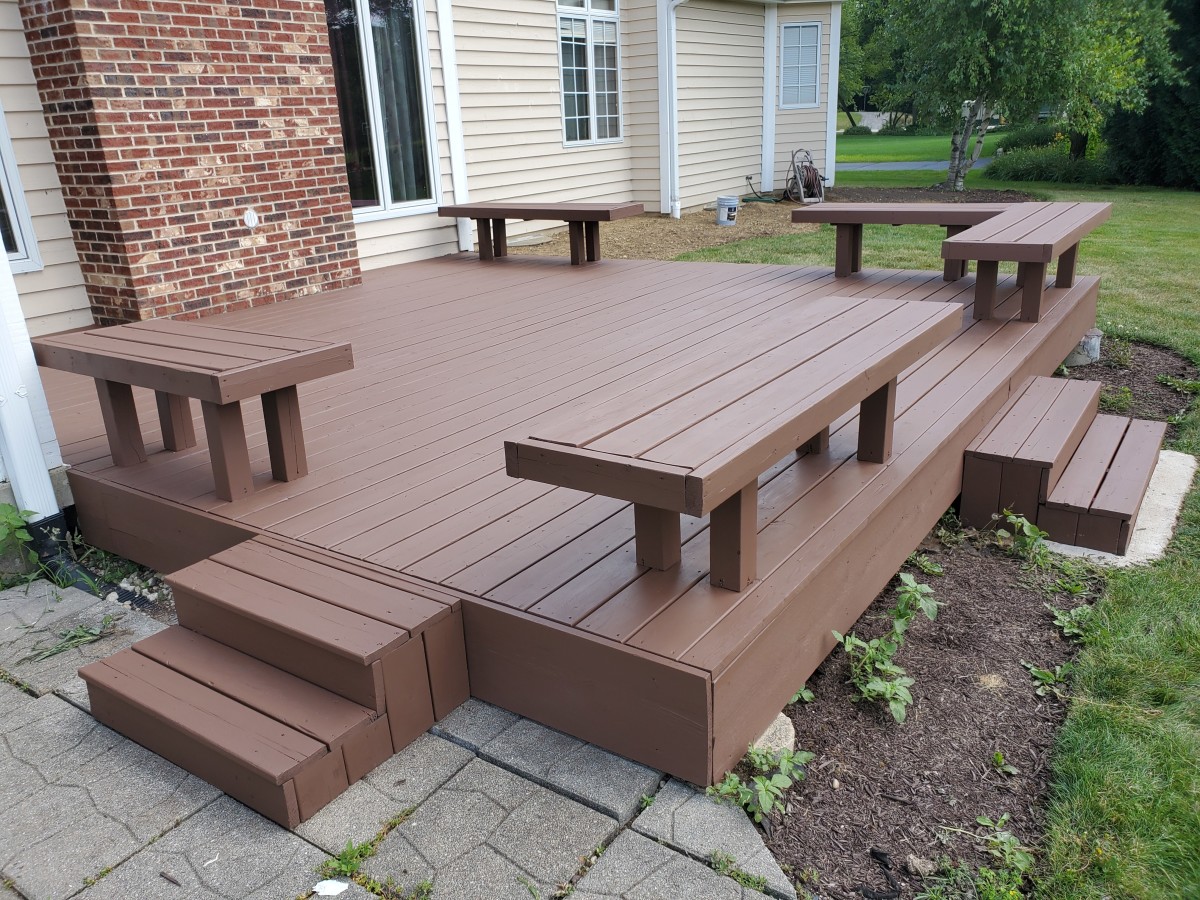
Deck Staining Made Easy: Step-by-Step Overview for Do It Yourself Lovers
Are you a DIY fanatic looking to offer your deck a fresh brand-new appearance? In this step-by-step overview, we will certainly walk you through the process of deck staining. With our easy-to-follow instructions, you'll be able to transform your deck into a stunning outdoor room in no time.Preparing the Deck Surface
Prior to you start tarnishing the deck, ensure you're effectively cleaning as well as sanding the surface. This action is important in ensuring a smooth and also resilient finish. Begin by eliminating any furniture or plants from the deck. Brush up away any type of loose dirt or particles using a broom. Use a power washer or a hose with a high-pressure nozzle to thoroughly clean up the deck. Pay close interest to locations with stubborn stains or mold, and also make use of a deck cleaner or a blend of warm water and moderate cleaning agent to treat them. After cleansing, enable the deck to dry completely for at the very least 1 day.As soon as the deck is dry, it's time to sand the surface area. Order a handheld orbital sander or a fining sand block, and start fining sand the deck boards in the direction of the wood grain. This will certainly help get rid of any type of harsh areas, splinters, or old tarnish (deck sealing). Be certain to use safety safety glasses as well as a dirt mask to stay clear of any type of eye or breathing irritation. Proceed fining sand until the whole deck surface area feels smooth to the touch.
Choosing the Right Spot
When choosing on the suitable tarnish, you'll desire to consider the kind of wood you're working with. Different kinds of timber have various characteristics that can impact just how well they absorb the discolor.Discolorations come in a range of shades, from light to dark, as well as can considerably transform the appearance of your deck. If you're looking to improve the natural color of the wood, select a clear or semi-transparent tarnish.
Last but not least, look at more info think of the degree of protection you want for your deck. Discolorations with higher degrees of pigment tend to offer much better security versus UV rays as well as moisture. If your deck is exposed to rough weather, it's worth purchasing a tarnish with added protective top qualities.
Cleaning and Fixing the Deck
Applying the Spot

Finishing Touches and also Upkeep Tips
After applying the last layer of tarnish, it's vital to routinely tidy and also seal your deck to keep its charm and also safeguard it from the elements. Choose a top notch sealer that is specifically made for decks and also use it according to the producer's instructions. It's suggested to use my blog a new coat see it here of sealant every 1-2 years to keep your deck looking its ideal.
Final Thought

Report this wiki page